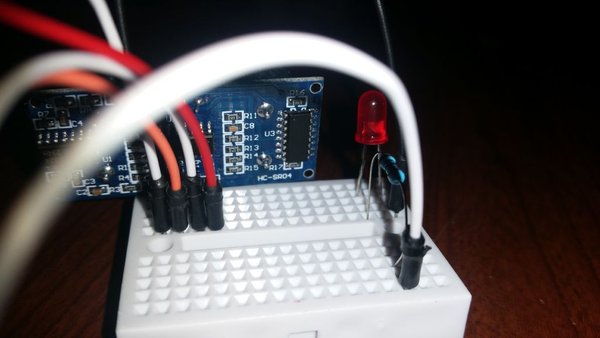
使用超音波距離感測器和 Arduino + LED 進行距離測量 展示如何使用超聲波傳感器(HC-SR04)構建運動檢測LED
- 1 個 Arduino uno r3 開發板
- 1 個LED(顏色不拘)
- 1個220歐姆電阻
- 1個麵包板
- 1個Arduino USB電纜
- 帶夾子的1 x 9V電池(可選)
- 6 x 跳線
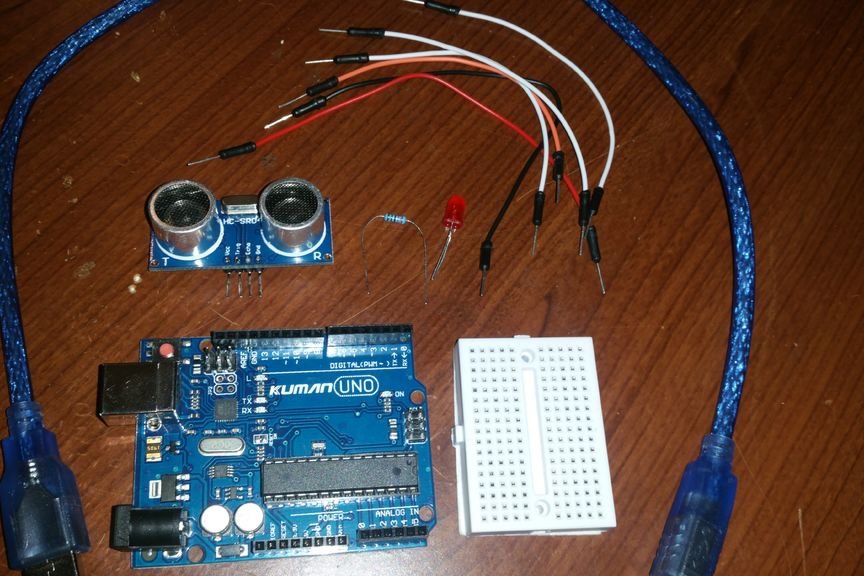
第2步:定位零件
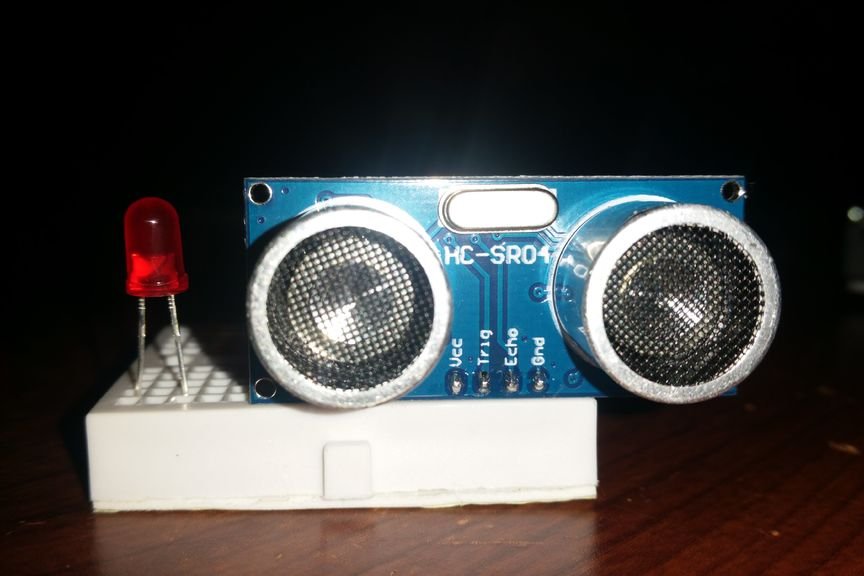
首先插入超聲波傳感器和麵包板上的LED。將LED的較短引線(陰極)連接到傳感器的GND引腳。然後,將電阻與LED較長的引線(陽極)放在同一行,以便連接。
第3步:連接部件
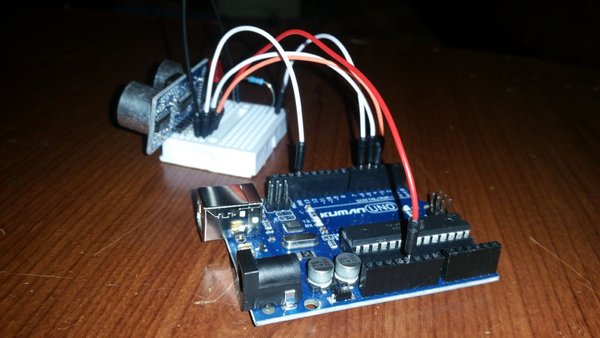
現在,您需要在傳感器背面插入一些電線。有四個引腳 - VCC,TRIG,ECHO和GND。插入電線後,您需要進行以下連接:
電阻的末端連接到您選擇的數字引腳,只需確保稍後在代碼中進行更改即可!
傳感器| Arduino的
VCC - > 5V
TRIG - > 5 *
ECHO - > 4 *
GND - > GND
* - 可以連接到Arduino的任意兩個數字引腳,只要確保在代碼中更改它們即可!
第4步:上傳代碼
1 2 3 4 5 6 7 8 9 10 11 12 13 14 15 16 17 18 19 20 21 22 23 24 25 26 27 28 29 30 |
const int ledPin = 6; // The pin of your LED const int trigPin = 5; // The pin to which the TRIG is connected const int echoPin = 4; // The pin to which the ECHO is connected const int ledOnTime = 1000; // The time that the LED stays on, after detecting the motion (in milliseconds, 1000ms = 1s) const int trigDistance = 20; // The distance (and lower than it) at which the sensor is triggered (in centimeters) int duration; int distance; void setup() { pinMode(ledPin, OUTPUT); pinMode(trigPin, OUTPUT); pinMode(echoPin, INPUT); } void loop() { digitalWrite(trigPin, LOW); digitalWrite(trigPin, HIGH); delay(1); digitalWrite(trigPin, LOW); duration = pulseIn(echoPin, HIGH); distance = duration * 0.034 / 2; if (distance <= trigDistance) { digitalWrite(ledPin, HIGH); delay(ledOnTime); digitalWrite(ledPin, LOW); } delay(100); } |
[insert_php]
$product_ids = '6133:2,6143:2';
$add_to_cart_url = esc_url_raw( add_query_arg( 'add-to-cart', $product_ids, wc_get_checkout_url() ) );
echo ' 購買專案所需材料 ';
[/insert_php]